Baobab – How to Make Baobab Powder At Home
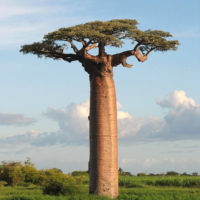
Baobab, the super fruit from the tree of life (or upside down tree) that has reigned as a life giver possessing life giving and medicinal qualities with some that are 2500 years old. Unfortunately, in large parts of Africa the baobab tree is struggling with worrying rates of decline linked to climate change. This decline..read more