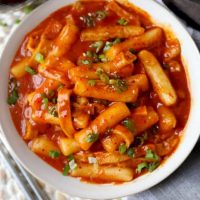
Rabokki Recipe Ramen + Tteokbokki 라볶이
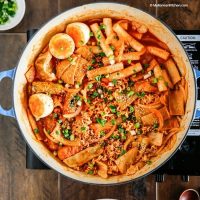
What is it? A fiery ruby stew that combines buttery ramen noodles and chewy rice cakes, bubbling in a delicious Korean sauce. It is a quintessential comfort staple for bachelor/rettes in Korea and it really is like a hug and kick all at the same time. Growing up, it always reminded me of a cross..read more